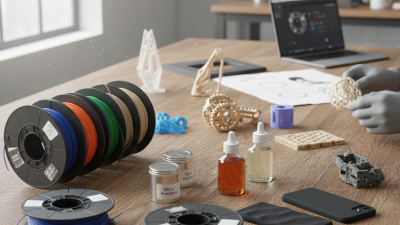
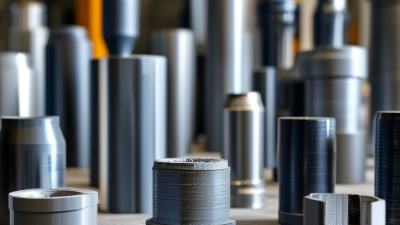
Choosing Rapid Propotyping Materials is not simply a matter of selecting the strongest plastic or the lowest-cost resin. The right choice depends on the prototype’s purpose, production stage, environment, and required level of detail. A concept model may need an inexpensive, easy-to-sand material. A functional prototype may require heat resistance, impact strength, flexibility, or chemical stability. These demands can point toward different materials, even within the same printing process.
Chuck Hull, the inventor of stereolithography, emphasized that 3D printing should make products “better, faster, and cheaper.” That principle still matters when comparing Rapid Propotyping Materials. A material that prints quickly may require extensive finishing. A premium resin may reproduce tiny features beautifully but fail during repeated testing. Material selection must therefore connect performance with actual use, not only with a supplier’s technical sheet.
This guide examines common material families, including PLA, ABS, nylon, photopolymer resin, TPU, and advanced composites. It considers strength, accuracy, surface finish, temperature resistance, moisture sensitivity, cost, and post-processing effort. Practical examples will show why a snap-fit enclosure, a silicone-like gasket, and a visual prototype should not use the same material. Small details matter.
The decision is rarely perfect. Early prototypes often reveal weaknesses that specifications do not predict. My own preference is to test a small sample before committing to a full build. That step costs little. It can prevent warping, brittle parts, poor tolerances, and expensive rework. Reliable recommendations should remain practical, transparent, and open to revision.
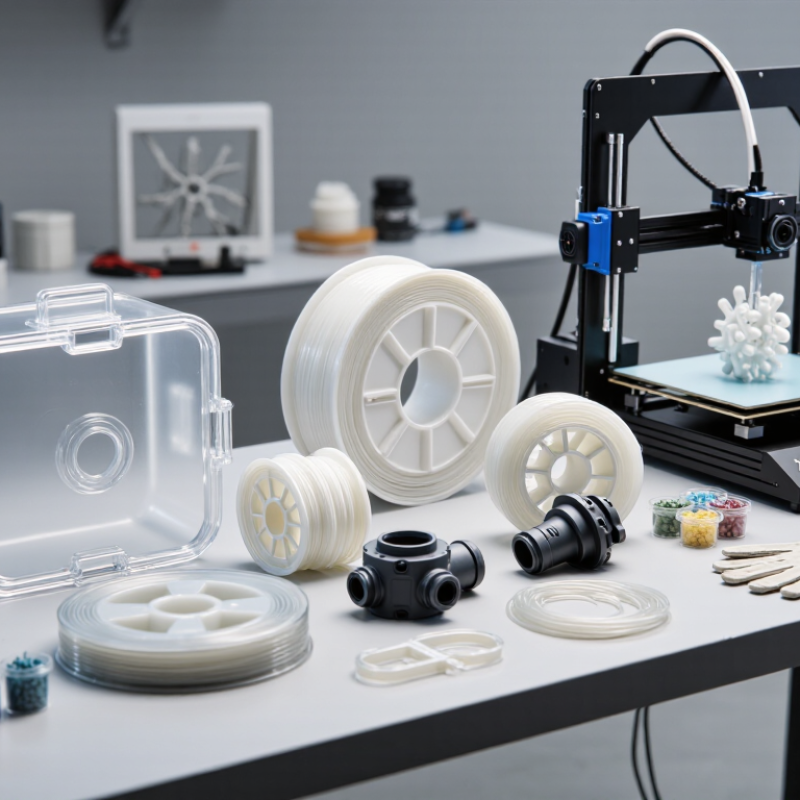
Thermoplastics are lightweight and suitable for housings, clips, and basic fit checks. They soften when heated and harden after cooling. Photopolymer resins can reproduce fine details, smooth surfaces, and small features. However, some resin parts may become brittle under repeated impact or sunlight.
Powder-based materials can produce complex shapes without extensive support structures. They are useful for functional prototypes with moving sections. Metal materials provide strength and heat resistance, but they usually require stricter process control and higher production costs.
Material choice should follow the prototype’s purpose. For a visual model, surface quality may matter most. For a working hinge, flexibility and fatigue resistance become more important. I have seen teams select a strong material too early, then struggle with poor surface detail. That mistake wastes time. Sometimes, a weaker material reveals design problems more clearly. Check temperature, load, moisture exposure, and expected handling before production. Small test pieces can expose warping, cracking, or inaccurate dimensions. No material is perfect. Even experienced designers may revise their choice after the first physical test. Reliable decisions come from comparing technical data with actual prototype behavior, not from appearance alone.
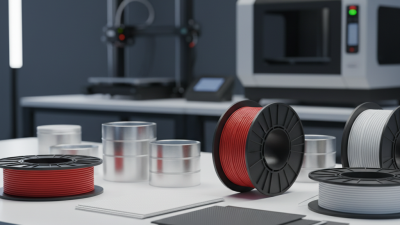
How to Choose Rapid Prototyping Materials?
How Material Properties Affect Prototype Performance
A prototype should behave like the final product, not merely look similar. Material selection controls strength, stiffness, weight, heat resistance, and surface feel. A rigid material may hold tight dimensions, but it can crack under sudden impact. A flexible material may survive bending, yet distort around screws or thin walls. Moisture can also change dimensions and reduce strength. Check the expected temperature, load, exposure, and assembly method before choosing a material. During prototype reviews, engineers often discover that the first material choice was too focused on appearance.
Tips: Write down the real operating conditions. Compare tensile strength, impact resistance, hardness, and heat deflection data. Test small samples when possible. A short heat cycle or repeated drop test can reveal weaknesses earlier than visual inspection. Also check build direction in layered manufacturing, because strength may differ across orientations.
Do not trust a data sheet blindly. Values depend on test methods, part geometry, wall thickness, and processing conditions. I have seen a strong material fail because a thin corner created stress concentration. That detail is easy to miss. Design rounded transitions and allow realistic tolerances. If the prototype will carry a load, measure deflection, not just breaking strength. If users will touch it, inspect grip, texture, and edge comfort. No material is perfect. The best choice balances performance, manufacturability, cost, and the information the prototype must provide.
Choosing rapid prototyping materials starts with the method, not the color or surface finish. A material must reflect the part’s real working conditions. Consider load, temperature, flexibility, moisture, tolerances, and expected production volume.
The Wohlers Report 2024 valued the global additive manufacturing market at 20.035 billion dollars in 2023. This growth expands material choices, but it also increases selection errors. Fused deposition modeling suits functional parts needing affordable strength and quick revisions. Use engineering thermoplastics when heat resistance matters. Stereolithography creates fine details and smooth surfaces, making it useful for visual models and tight-fit checks. However, many photopolymers remain brittle under repeated impact. Selective laser sintering works well for complex nylon parts without support structures. CNC machining is more suitable when prototypes require stable dimensions, metal strength, or precise threads. Vacuum casting can reproduce several identical parts with rubber-like or rigid polyurethane properties.
Start with a small test coupon.
Measure warpage, surface quality, and dimensional change before producing the full part. Industry standards such as ISO 527 support consistent tensile testing, but workshop experience still matters. I once selected a rigid resin for a snap-fit housing because its finish looked excellent. The first assembly cracked near the hinge. A flexible material would have performed better, despite its less polished appearance. Prototype reviews should record these failures, not hide them. Material data sheets can suggest performance, but actual geometry, wall thickness, and processing settings often change the result.
| Prototyping Method | Common Material Options | Best Match for | Key Advantages | Important Limitations | Typical Dimensional Accuracy | Surface Finish | Typical Lead Time |
|---|---|---|---|---|---|---|---|
| Fused Deposition Modeling (FDM) | PLA, ABS, PETG, nylon, polycarbonate, and fiber-reinforced thermoplastics | Concept models, ergonomic checks, brackets, housings, fixtures, and basic functional tests | Low material cost, broad thermoplastic selection, relatively simple operation, and suitable for large parts | Visible layer lines, anisotropic strength, possible warping, and lower detail resolution than resin-based printing | Commonly about ±0.1–0.3 mm, depending on part size, layer height, and machine setup | Visible layers; sanding, vapor treatment, or coating may be required | 1–5 days |
| Stereolithography (SLA) | Standard resin, tough resin, flexible resin, high-temperature resin, and castable resin | Detailed visual models, small assemblies, smooth housings, molds, and presentation prototypes | High detail, smooth surfaces, thin-wall capability, and excellent reproduction of small features | Many resins are brittle, long-term ultraviolet exposure can affect properties, and post-curing is required | Commonly about ±0.05–0.2 mm, depending on geometry and resin type | Smooth finish with fine layer lines; support marks may need removal | 1–4 days |
| Digital Light Processing (DLP) | Photopolymer resins for standard, tough, flexible, dental, casting, or high-temperature applications | Small, highly detailed parts, miniature components, channels, and repeatable batch prototypes | Fast exposure of complete layers, high resolution, good small-feature definition, and efficient batch production | Limited build volume on many systems, resin brittleness in some grades, and required washing and post-curing | Commonly about ±0.05–0.15 mm for suitably sized parts | Smooth surface with possible support contact marks | 1–3 days |
| Selective Laser Sintering (SLS) | Nylon 11, nylon 12, glass-filled nylon, and elastomeric powder materials | Functional enclosures, snap-fits, ducting, lattice structures, and complex parts without support structures | Strong functional parts, freedom to produce interlocking geometries, and no dedicated support structures | Grainy or slightly porous texture, limited color consistency, and dimensional variation caused by thermal processing | Commonly about ±0.1–0.3 mm, depending on part size and powder process | Powdery or grain-textured; tumbling, blasting, dyeing, or coating can improve appearance | 3–7 days |
| Multi Jet Fusion (MJF) | Nylon 11, nylon 12, glass-filled nylon, polypropylene, and flexible thermoplastic materials | End-use-like prototypes, housings, clips, manifolds, and medium-volume design verification | Consistent mechanical properties, efficient batch production, good detail, and strong isotropic performance | Surface texture is not fully smooth without finishing, color options can be limited, and thermal shrinkage must be considered | Commonly about ±0.1–0.3 mm, depending on geometry and material | Uniform matte or slightly grainy finish; bead blasting or dyeing is often used | 3–7 days |
| CNC Machining | Aluminum, stainless steel, brass, copper, acetal, nylon, ABS, acrylic, and other machinable plastics | High-precision components, mating parts, functional metal prototypes, jigs, and production-representative tests | Excellent dimensional control, real production-grade materials, strong parts, and broad finishing options | Higher cost for complex geometries, material waste, tool-access requirements, and difficulty machining enclosed internal features | Commonly about ±0.02–0.1 mm; tighter tolerances require suitable equipment and inspection | Machined finish; anodizing, plating, polishing, brushing, or painting may be added | 3–10 days |
| Vacuum Casting | Polyurethane resins formulated to imitate ABS, polypropylene, rubber, or other engineering plastics | Small batches, appearance models, soft-touch parts, overmold simulations, and user testing | Production-like appearance, multiple material hardness options, molded textures, and economical short runs | Requires a master pattern, silicone molds have limited life, and material properties may differ from production plastics | Commonly about ±0.1–0.3 mm, with additional variation from mold wear and shrinkage | Can reproduce a polished, textured, painted, or molded appearance | 7–15 days |
| Sheet Metal Fabrication | Aluminum, mild steel, stainless steel, copper, and coated sheet materials | Brackets, cabinets, covers, chassis, heat shields, and bent structural components | Realistic folded-metal behavior, durable parts, rapid design feedback, and representative assembly performance | Bend radii, tooling access, minimum flange sizes, springback, and corner reliefs constrain the design | Commonly about ±0.1–0.5 mm, depending on thickness, bend geometry, and process | Cut and bent finish; deburring, brushing, powder coating, or plating may be applied | 3–10 days |
Choosing a rapid prototyping material starts with the production question, not the lowest quote. In a workshop review, I compare three figures: material cost, machine time, and finishing labor. A low-cost polymer may print quickly, yet require sanding, inserts, or repeated corrections. That hidden labor can exceed the initial price. A 2023 industry survey found that additive manufacturing users increasingly applied the technology beyond prototypes, including final production parts. The trend matters because material selection must reflect expected volume and use.
Speed is valuable when designs change daily. Layer-based printing can produce complex forms without tooling, while machining often delivers tighter tolerances and smoother surfaces. However, printing is not automatically faster. Large parts may need overnight builds, support removal, and inspection. The Wohlers Report 2024 estimated the global additive manufacturing industry reached about $20.0 billion in 2023, growing 11.1%. This growth reflects broader adoption, but it does not remove practical limits.
For ten visual models, choose a fast, economical material. For one heat-exposed fixture, prioritize temperature resistance and dimensional stability. For hundreds of identical parts, compare cycle time, post-processing, and repeatability. I still see teams overlook surface finishing. That mistake is expensive. Ask for a sample part, measure critical dimensions, and record the complete lead time. A material that looks cheaper on paper may lose when production requirements become real.
Typical non-company-specific estimates for one-off or small-batch prototypes. FDM and SLA offer the lowest cost and fastest turnaround, while CNC machining provides stronger functional parts at a higher cost and longer lead time. SLS is suitable for complex nylon geometries, and urethane casting is more economical when several dozen production-like parts are required.
Selecting a final material requires more than matching the prototype’s appearance. Start by defining its real working conditions. Will it face heat, moisture, impact, friction, or cleaning chemicals? Record these requirements before comparing material options. A prototype may look accurate yet fail under repeated loading. I have seen thin clips crack after only a few assembly cycles. That failure was useful because it exposed an unrealistic material choice early.
Validate candidates with practical tests that imitate production use. Measure dimensions before and after exposure to heat or humidity. Check stiffness, surface quality, weight, and fastening performance. If the part will touch skin or food, confirm applicable safety requirements with qualified professionals. Small samples can mislead you. Test the actual wall thickness, geometry, and finishing method whenever possible. Reality disagrees.
Tips: Build a simple test plan with pass-or-fail limits. Compare at least two material options. Inspect parts after repeated use, not only immediately after testing. Ask the manufacturer about tolerances, curing, machining, and expected production consistency. Cost also matters, but a cheaper material may create more rejects or assembly problems. Keep test records, including photos, measurements, and unexpected defects.
Material selection should reflect the final manufacturing process, not just the prototype stage. A resin-like sample may validate shape, while another material better represents durability or heat resistance. This distinction is easy to overlook. When results conflict, review the test method before rejecting the material. Sometimes the fixture is weak, or the load is unrealistic. A controlled second test can prevent an expensive decision based on poor evidence.